

When we moved 3Po and Jammy into their own room, we told them they could set it up and decorate it however they wanted. Unlike The Pea, who has grand plans of wall organizers and posters and beaded light fixtures in her room, the boys asked for only 2 things: they wanted their room to be green and blue (their favorite colors), and they wanted shelves to display some of their Lego Star Wars sets. I found the coolest Lego minifigure display cases on Pinterest, so I decided to use them as inspiration to make some of my own. Here's how I did it:

I used a 12 in x 12 in shadow box which I got from Michaels Arts and Crafts for $7.99. For shelves, I bought 3 wooden slats ($1.99 each, also from Michaels) which were 2 inches wide, and cut them to just under 12 inches long to fit inside the shadow box (the paint will add a few fractions of an inch, so after they're painted it's a really snug fit. Unlike the display case I found on Pinterest, this one doesn't have a glass front because the boys are going to be playing with those minifigures, constantly taking them out and putting them (or a replacement) back in.
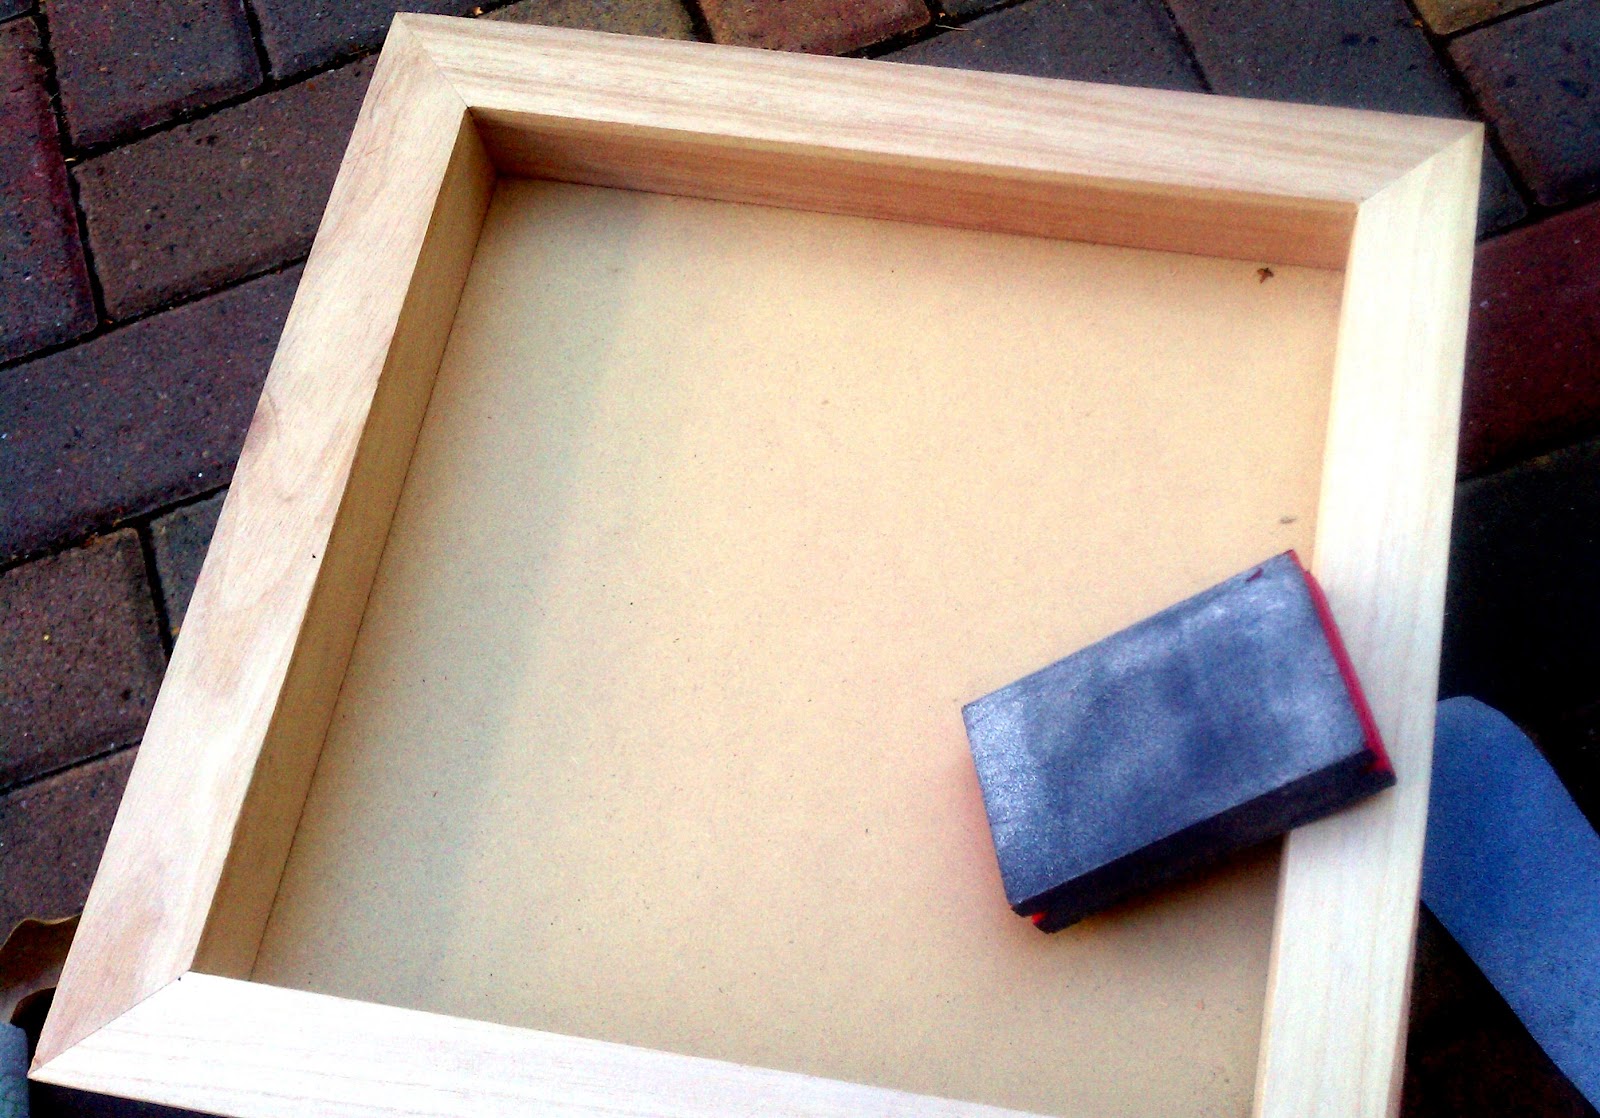
Lightly sand the wooden surfaces.

Prime the surfaces with a water-based primer, then apply 2 coats of white paint, making sure you leave a couple of hours for the paint to dry between coats. Since I wasn't in any hurry, I decided to leave 24 between coats and spread the work out over a whole week. Since we recently painted the boys' bedroom, I had all the paint necessary, but you can get a sample-sized can of white water-based semi-gloss at Home Depot or Lowe's for $3. If you get the paint with primer already in it, you can skip the primer step!

Position the 3 shelves in the shadowbox. Due to all the layers of paint, it will probably be a tight fit.
I initially wanted to screw the shelves into place, but I was afraid the side and/or back of the shadow box might split (hey, it's just a $7.99 pine box!), so we used Lego bricks to support the shelves. There are 3 shelves, but you also have the bottom of the shadow box, so that makes 4 shelves total. Each shelf has 2 Lego support columns, 1 on each side. Each Lego support column is made of 7 2x4 white Lego bricks, stacked 1 on top of another, then topped with 2x2 flat tiles. Secure the supports to the shadow box with hot glue or glue dots or duct tape. White tiles give the cleanest look, but 3Po and Jammy liked the idea of accent colors (the photo shows red tiles), eventually settling on lime green.
Now that the shelves are in place, it's time to line the shelves with Lego plates. With the support columns, each shelf is almost exactly 4 dots wide and 34 dots long, so for each shelf you'll need 5 flat plates, 4x6, and 1 flat plate, 4x4 (or any combination of flat plates with a total length of 34 dots).

Take one of the plates, and apply hot glue liberally on the base of the plate.

Carefully lay the plate down on the shelf, and press firmly. You're done!

Arrange the minifigures on the shelves. I left 1 dot between each minifig, for a total of 11 minifigs per shelf. 3Po and Jammy wanted some of their Star Wars minifigs to hold their lightsabers, and some of their Ninjago minifigs to hold their staffs or swords; fortunately there was more than enough vertical space to accommodate all but the very longest ones. We just tilted the extra-long ones outward.

Now the boys have a cool display case for their minifigs, and they can take them out, switch them around and play with them whenever they want!


1 comment:
that is really a great idea.
Post a Comment